Hello, in this post, I will share how to install and setup swagger for a Golang Project. As we know, swagger can easily generate API documentation that can shared to the frontend.
After reviewing and trying to implement on my Golang project, I decided to use Swaggo instead go-swagger. This is because swaggo is more easier and automatic when generate API documentation.
Let’s get started.
- Before install, make sure you have Golang installed on your local machine. In my case, I’m using Golang 1.25.5 and Golang fiber for the framework.
- Go to your Golang project and run command below:
go mod tidy && go install github.com/swaggo/swag/cmd/swag@latest- Wait until download process complete
- After download process is complete, you can generate the documentation by running command below:
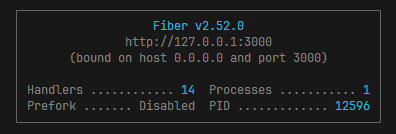
swag init -g main.go- If the generation is successfull, it will show message similiar to the one below:
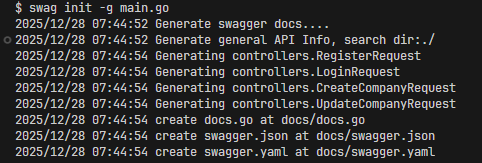
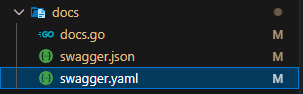
- The generation will create a new directory named docs, and contains 3 files:
- Before continue, don’t forget to add a new route for swagger
-
package main

import (
  "log"
  "os"
  "github.com/gofiber/fiber/v2"
  "github.com/gofiber/fiber/v2/middleware/cors"
  "github.com/gofiber/fiber/v2/middleware/logger"
  "github.com/gofiber/fiber/v2/middleware/recover"
  swagger "github.com/swaggo/fiber-swagger"
)

// Swagger routes
app.Get("/swagger/*", swagger.WrapHandler)
-
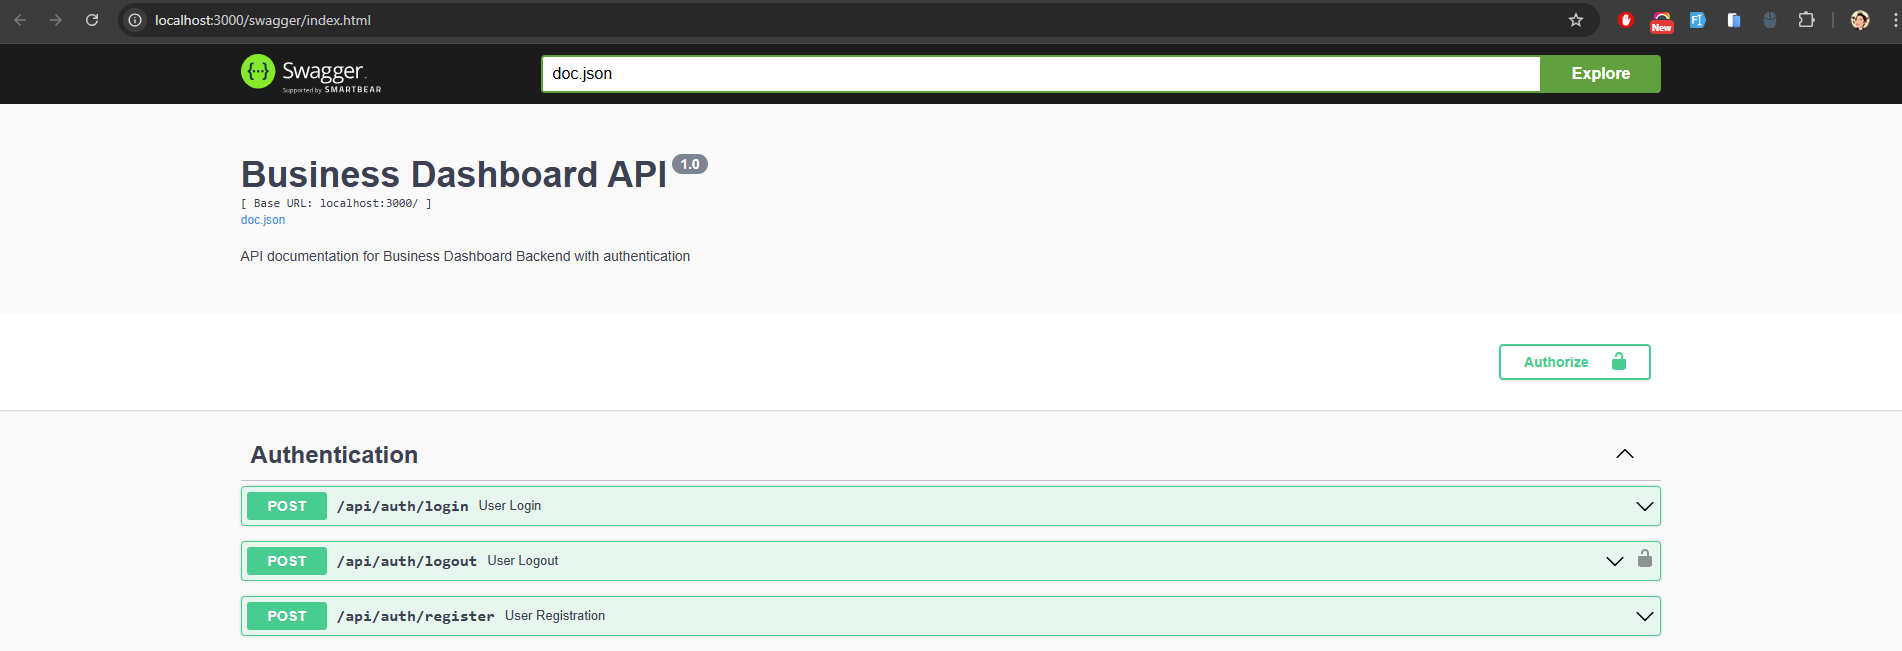
- Run the project and open the swagger documentation on:
http://localhost:3000/swagger/index.html- The link depend on the port you are using ✨